
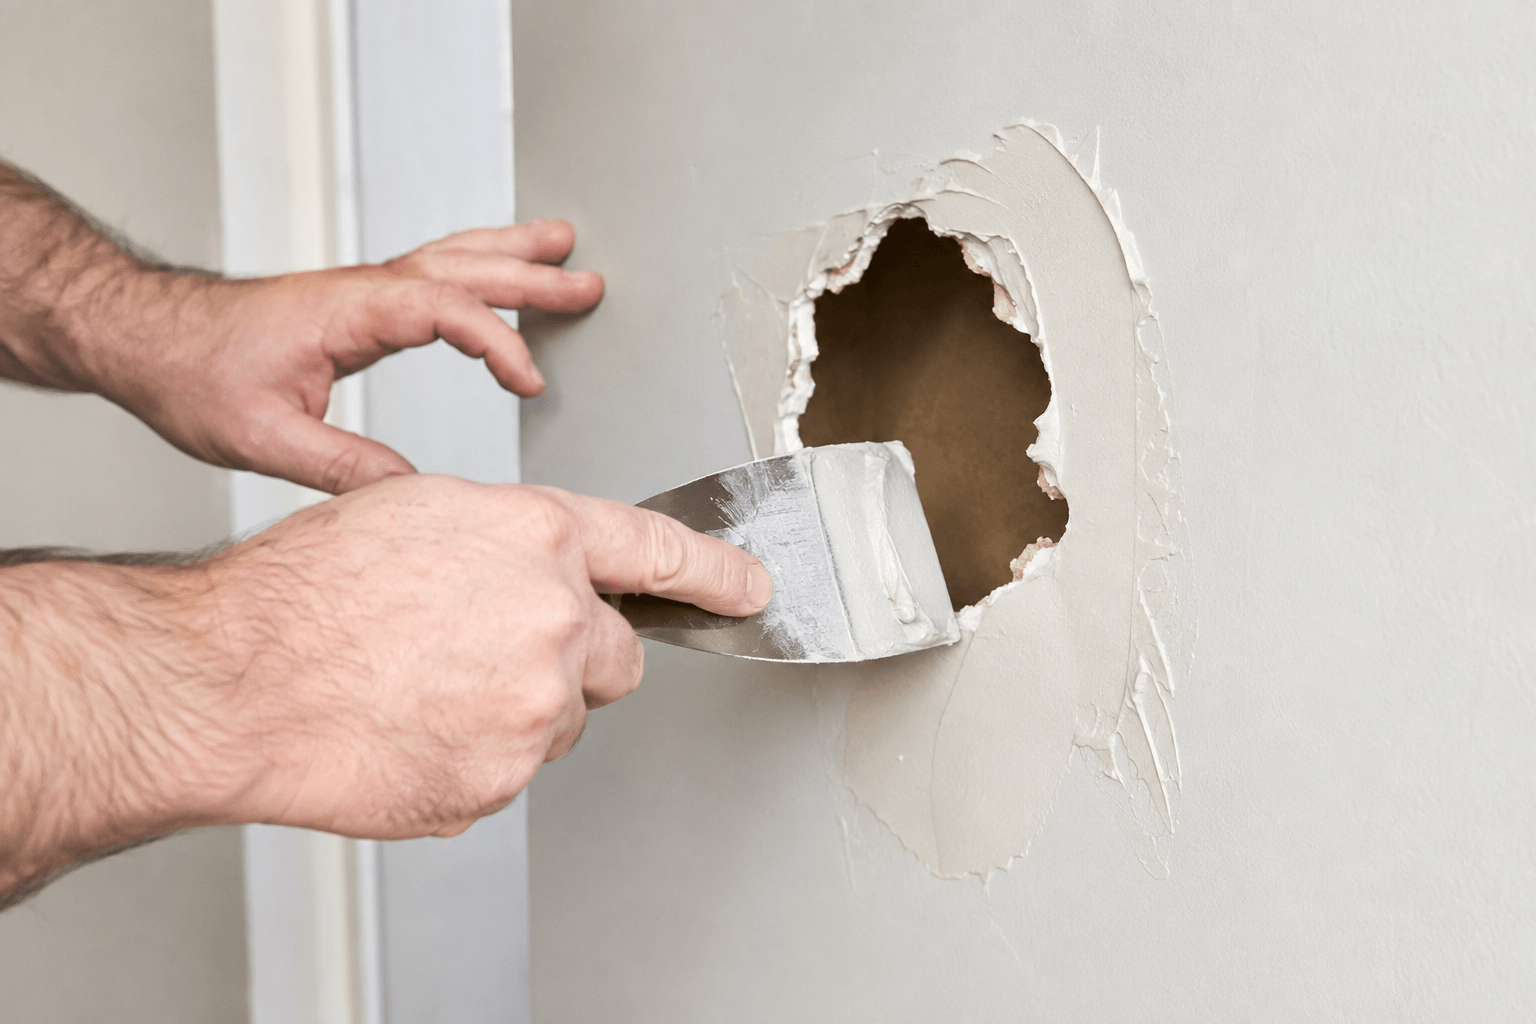
I’ve been patching walls in Humboldt County long enough to know that “how do you fix a hole in drywall” is one of those questions people only Google at 9 p.m., standing in front of the damage, phone in one hand and a very guilty-looking doorknob-shaped dent in the other. So let’s talk about it — not the sanitized version, the real one, from a guy who’s spent more Saturdays than he’d like to admit elbow-deep in joint compound from Old Town to Cutten.
The Usual Suspects
Drywall damage in this town has a personality all its own, and it’s mostly the fault of two things: our houses and our weather. A lot of the homes I work on around Henderson Center and up toward Myrtletown were built decades ago, which means I’m not always dealing with modern drywall — sometimes it’s old plaster over wood lath, which patches completely differently and does not forgive guesswork. Then you’ve got the coastal fog rolling in off Humboldt Bay every night, quietly raising the humidity in every wall cavity it touches. That’s a slow, patient kind of damage — nail pops, hairline cracks along the seams, and the occasional soft, water-stained patch that tells me something behind the wall has been unhappy for a while.
And then there’s the fast kind of damage. The moving-day dresser that took a corner too aggressively. The toddler who discovered that walls make a satisfying “thunk.” The doorknob that’s been drilling the same hole into the same spot for three years because nobody’s ever put a stop on that door. I’ve seen it all, and I promise you, I am not judging. I am, however, going to tell you the truth about what you can fix yourself and what you should hand off.
What You Can Actually DIY
I’m a big believer in letting people fix what they can fix. It saves you money and it saves me a drive out to Fortuna for a job that really didn’t need me. If you’re dealing with small nail holes, minor dings, or a crack under a couple inches, here’s the honest rundown:
- Small holes and dings: A dab of lightweight spackle, a putty knife, and a little patience. Let it dry, sand it smooth, prime it, paint it. Fifteen minutes of actual work spread across a couple hours of drying time.
- Nail pops: Don’t just spackle over the popped nail — that’s a rookie move and it’ll pop right back through. Drive the nail back in (or better, add a drywall screw an inch above or below it), then patch.
- Small holes up to a couple inches: A self-adhesive mesh patch plus two thin coats of joint compound, feathered out wide so it blends instead of standing out like a Band-Aid.
The trick nobody tells you is that patience beats speed every time. Most DIY drywall jobs go wrong not because the person did the wrong thing, but because they rushed the drying time and tried to sand wet mud, which just turns your wall into a science experiment. Sites like Angi have solid step-by-step guides if you want to walk through a small patch yourself, and I genuinely encourage it — there’s something satisfying about fixing your own wall.
When It Stops Being a DIY Project
Here’s where I earn my keep. Once a hole gets bigger than your hand, or you’re dealing with more than one or two spots, the math changes fast. You need a properly sized drywall patch cut in, screwed to blocking or a scrap of wood bridging the gap, and multiple coats of mud feathered out over a wide enough area that it doesn’t read as a patch under raking light from a window. That last part trips up almost everyone — you can do a technically correct patch and still end up with a wall that looks like it has a shadow on it every afternoon. Getting the texture to match — whether it’s orange peel, knockdown, or that smooth hand-troweled finish some of the older Eureka homes have — is genuinely a skill, not a YouTube-tutorial afternoon.
Then there’s the stuff hiding behind the hole. More times than I can count, I’ve opened up what looked like simple cosmetic damage and found evidence of an old leak, a rotted stud, or wiring that someone routed in a way that would make an electrician weep. That’s the moment a “quick patch” job becomes a “let’s talk about what’s actually going on in your wall” job. If there’s any water staining, soft or crumbly drywall, or a musty smell, that’s not a spackle situation — that’s a call-a-professional situation, because you’re not patching a hole anymore, you’re potentially dealing with mold or rot that’ll just come back through the fresh paint in a few months. Bob Vila’s resources are a great gut-check for figuring out which category your damage falls into before you commit a whole Saturday to it.
The Older-Home Wrinkle Nobody Talks About
If your house was built before 1978 — and a lot of homes around here were — there’s a wrinkle to drywall and plaster repair that has nothing to do with skill and everything to do with regulation: lead paint. Sanding into old painted layers without the right containment and cleanup practices can release lead dust, which is a genuine health hazard, especially for kids. The EPA has specific certified renovation practices for exactly this situation, and it’s one of those things where I’d rather a homeowner know about it upfront than find out the hard way. If your project touches painted surfaces in a pre-1978 home, it’s worth reading up on the EPA’s lead-safe renovation guidelines before anyone starts sanding.
The Business Owner Version of This Problem
Homeowners aren’t the only ones who call me about walls. Business owners around Eureka deal with a whole different flavor of drywall headache — high-traffic hallways that collect dings from carts and furniture, tenant turnover damage that needs to be fixed fast before the next lease starts, and the fact that a chewed-up wall in a waiting room or storefront says something about the business whether you meant it to or not. Commercial patch jobs also have to match existing paint and texture across a much bigger, more visible surface, and they usually need to happen on a schedule that doesn’t interrupt operations. That’s a different kind of pressure than a homeowner’s guest bedroom, and it’s exactly the kind of job where bringing in Jaques of All Trades’ drywall repair team instead of DIY-ing it after hours saves everyone a headache.
When to Just Call Me
I love that people try to fix their own walls. I really do. But here’s my honest rule of thumb: if the hole is bigger than your fist, if there’s more than a couple of spots, if you’re not sure what’s behind the wall, or if matching the texture matters to you (and it should — mismatched texture is the single most common regret I hear about), it’s worth getting professional drywall repair instead of a weekend of trial and error. I’d genuinely rather show up once and do it right than get a call in three months about a patch that’s cracking, bubbling, or standing out like a sore thumb every time the afternoon sun hits it.
Drywall repair sits in this funny middle zone of home maintenance — small enough that people feel like they should be able to handle it themselves, complicated enough that a lot of them end up regretting that decision. My advice: tackle the small stuff with confidence, respect the bigger holes and anything hiding water damage or old paint layers, and don’t be afraid to call in drywall repair services when the job outgrows a putty knife. Your walls — and your Saturday — will thank you.
If you’re in Eureka, Cutten, Old Town, or anywhere around Humboldt Bay and you’ve got a wall that’s seen better days, give us a call. I promise not to judge the doorknob dent.

Leave A Comment